

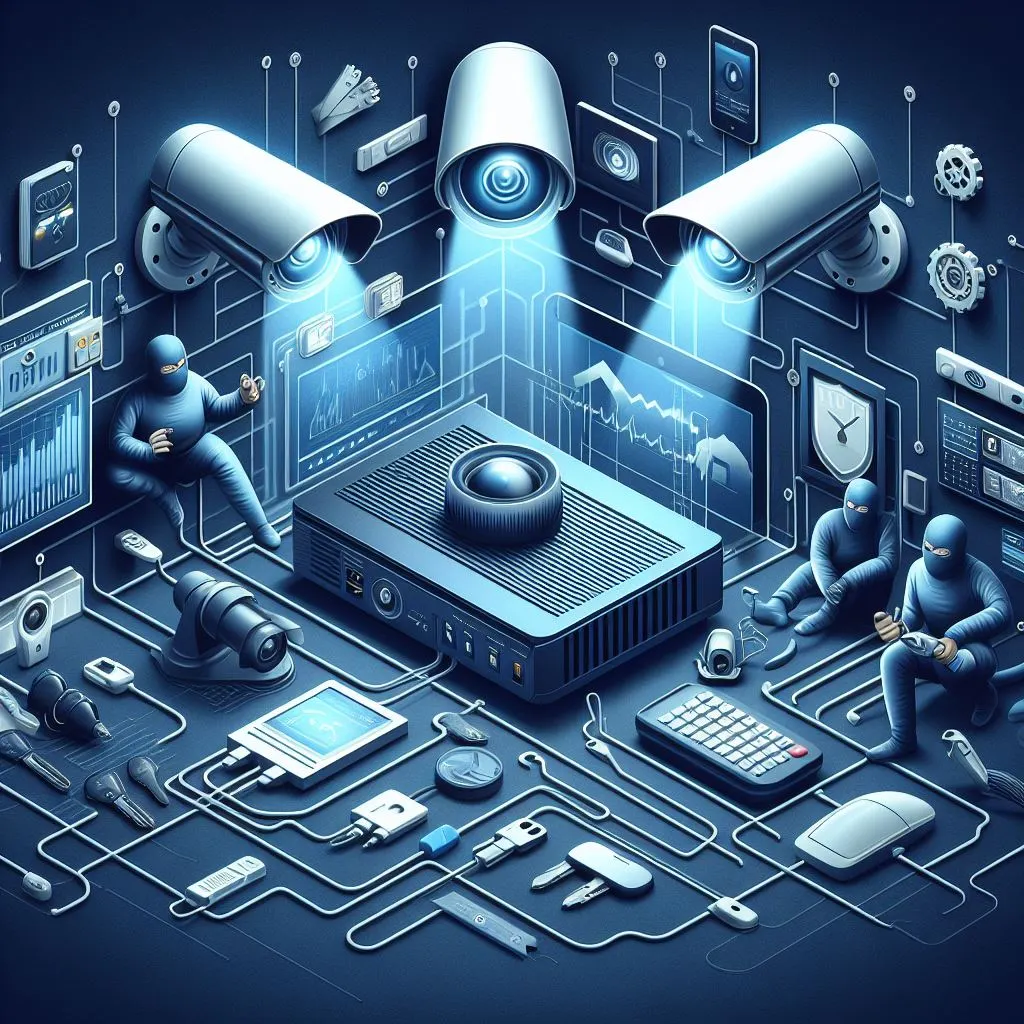
Video security systems are becoming more popular and affordable for homeowners who want to protect their property and family from intruders, vandalism, and theft. Video security systems consist of cameras, recorders, monitors, and other accessories that allow you to monitor and record what is happening around your home. Installing a video security system can be a DIY project or a professional service, depending on your budget, skills, and preferences. In this article, we will guide you through the steps and tips for installing a video security system for your house.
Step 1: Choose the type and number of cameras
The first step in installing a video security system is to decide what type and how many cameras you need for your home. There are different types of cameras available, such as wired or wireless, indoor or outdoor, dome or bullet, infrared or night vision, and so on. Each type has its own advantages and disadvantages, depending on your needs and preferences.
Here are some factors to consider when choosing the type and number of cameras:
- Consider the size and layout of your property. Measure the area you want to cover and find the best camera locations and angles. Also, factor in the distance and height of the objects you want to capture. Larger properties may require more cameras.
- Choose cameras that produce clear and detailed images, especially for identifying faces, licence plates, and other details. Camera resolution, measured in pixels (e.g., 1080p, 4K, or 8K), affects image quality. Higher resolution improves image quality but requires more bandwidth and storage space.
- Choose cameras with features and functions that suit your needs and preferences, like motion detection, audio recording, remote access, smart alerts, and more. Some cameras also offer advanced features such as facial recognition, object detection, and AI to enhance your video security system’s performance and functionality.
- Choose cameras that fit your budget and provide the best value for your money. The cost depends on the camera type, quality, resolution, features, and functions. Consider installation and maintenance expenses like wiring, mounting, and power supply.
For home security, it’s recommended to have cameras at each entry point (front door, back door, garage, and windows) and in vulnerable or valuable areas (living room, bedroom, basement, and backyard). Additional cameras can be placed in less visible areas like the roof, attic, or crawl space. The number of cameras needed depends on your situation and preferences. Find a balance between coverage and cost.

Step 2: Choose the type and size of the recorder
The second step in installing a video security system is to choose the type and size of the recorder that will store and process the video footage from the cameras. There are two main types of recorders available: DVRs (digital video recorders) and NVRs (network video recorders). DVRs are more suitable for wired cameras, while NVRs are more suitable for wireless cameras.
Here are some factors to consider when choosing the type and size of the recorder:
- The compatibility and connectivity of the recorder. You should choose a recorder that is compatible and can connect with the cameras that you have chosen. You should also check the number and type of ports and cables that the recorder has, such as HDMI, USB, Ethernet, and so on. You should also consider the distance and location of the recorder from the cameras and whether you need any extenders, splitters, or adapters.
- The capacity and performance of the recorder. You should choose a recorder that has enough capacity and performance to store and process the video footage from the cameras. The capacity of the recorder is measured in terabytes (TB), such as 1TB, 2TB, or 4TB. The performance of the recorder is measured in frames per second (FPS), such as 30 FPS, 60 FPS, or 120 FPS. Higher capacity and performance recorders will allow you to store and view more video footage, but they will also cost more and consume more power.
- The features and functions of the recorder. You should choose a recorder that has the features and functions that suit your needs and preferences, such as playback, backup, encryption, compression, and so on. Some recorders also have advanced features, such as cloud storage, remote access, smart alerts, and so on, that can enhance the security and convenience of your video security system.
- The budget and cost of the recorder. You should choose a recorder that fits your budget and offers the best value for your money. The cost of the recorder will depend on the type, capacity, performance, features, and functions of the recorder. You should also consider the installation and maintenance costs of the recorder, such as wiring, mounting, power supply, and so on.
Note:
As a general rule, you should choose a recorder that can support the number and resolution of the cameras that you have chosen. For example, if you have four 1080p cameras, you should choose a recorder that can support at least four channels and 1080p resolution. You should also choose a recorder that has enough storage space to store the video footage for the desired period of time, such as a week, a month, or a year. You can also use online calculators or tools to estimate the storage space that you need based on the number, resolution, and frame rate of the cameras.
Step 3: Choose the type and size of the monitor
The third step in installing a video security system is to choose the type and size of the monitor that will display the video footage from the cameras. There are different types of monitors available, such as LCD, LED, OLED, or QLED. Each type has its own advantages and disadvantages, depending on your needs and preferences.
Here are some factors to consider when choosing the type and size of the monitor:
- The quality and resolution of the monitor. You should choose a monitor that can produce clear and detailed images, especially if you want to zoom in or out of the video footage. The resolution of the monitor is measured in pixels, such as 1080p, 4K, or 8K. Higher-resolution monitors will provide better-quality images, but they will also cost more and consume more power.
- The features and functions of the monitor. You should choose a monitor that has the features and functions that suit your needs and preferences, such as brightness, contrast, colour, sound, and so on. Some monitors also have advanced features, such as touch screens, split screens, or motion detection, that can enhance the usability and functionality of your video security system.
- The budget and cost of the monitor. You should choose a monitor that fits your budget and offers the best value for your money. The cost of the monitor will depend on the type, quality, resolution, features, and functions of the monitor. You should also consider the installation and maintenance costs of the monitor, such as wiring, mounting, power supply, and so on.
Note:
As a general rule, you should choose a monitor that matches the resolution of the recorder that you have chosen. For example, if you have a 4K recorder, you should choose a 4K monitor. You should also choose a monitor that is large enough to display the video footage from all the cameras that you have installed, or at least the most important ones. You can also use online calculators or tools to estimate the optimal size of the monitor based on the viewing distance and angle.
Step 4: Install and configure the video security system
The final step in installing a video security system is to install and configure the components that you have chosen, such as the cameras, the recorder, and the monitor. The installation and configuration process will vary depending on the type and model of the components.
But here are some general steps and tips to follow:
- Read and follow the user manuals carefully for each chosen component. Also, check the warranty and support information, and reach out to the manufacturer or seller for any questions or issues.
- Gather the necessary tools and materials for the installation and configuration process. This includes drills, screws, anchors, cable clips, wire strippers, crimpers, connectors, etc. Also, prepare power sources and network connections like outlets, extension cords, surge protectors, routers, switches, etc.
- Test the components before mounting them. You should test the components before mounting them to make sure that they work properly and that they are compatible with each other. You should also adjust the settings
- Mount the components in the desired locations, following the instructions and recommendations for each. Secure wires and cables with clips or conduits, hiding them as much as possible. Label wires and cables for easy identification and troubleshooting.
- Connect the components to power sources and the network, following instructions and recommendations for each. Test the power and network connections, ensuring stability and security.
- Configure video security system settings and preferences, following component instructions and recommendations. Test the system’s functionality and performance to ensure it meets your needs and expectations.
Conclusion
Installing a video security system for your house can be a rewarding and beneficial project that can enhance the security and comfort of your home. However, it can also be a challenging and complex task that requires careful planning and execution. By following the steps and tips that we have provided in this article, you can install and configure a video security system that suits your budget, skills, and preferences. We hope that you have found this article helpful and informative, and that you have enjoyed reading it as much as we have enjoyed writing it.